November 13, 2026
How to Choose Your Final Brand Photos Without Getting Stuck
Choose a useful set from your brand photography gallery with a practical checklist for image purpose, variety, cropping, and a clear final handoff.
Choose final brand photographs by matching each image to a real use, then reviewing the selection as a set. Start with your website, profiles, press needs, and planned posts. Pick the photographs that communicate clearly in those settings, check how they crop, and give the photographer one consolidated selection using the original image numbers.
Your favorite photograph can still belong in the collection. The goal is to make sure the final set does more than repeat your favorite expression or angle. A useful selection gives you a clear introduction, supporting context, and enough variety to keep using the work after the first announcement.
Confirm what stage you are reviewing
Before choosing, ask whether you are looking at proofs, edited previews, or finished files. Confirm how selections are submitted, what finishing happens next, and whether there is an agreed limit on the final images. Those details should come from your project agreement and photographer, rather than assumptions about how every studio works.
Review the whole gallery once before marking favorites. Notice the different settings, people, expressions, products, or activities available. Then return to the brief and identify the jobs the photographs need to do. This helps you see the range before a handful of early favorites takes over the selection.
Give each shortlisted image a job
Write down the first places you intend to use the photographs. Be specific: the founder introduction on an About page, the team section on a service page, a press biography, or a social post explaining a process. Each placement asks something slightly different of an image.
For a profile portrait, you may need a face that remains clear in a small crop. A website section may need more context around the person or space beside them for text. A process story may need hands, tools, or a sequence of actions. Choose against those needs instead of expecting one image to fit everything.
Keep a simple selection sheet with the image number, intended use, and any question for the photographer. An entry such as “Image 024 — About page — can we keep the hands visible in the planned crop?” is easier to act on than “the nice one by the window.”
Look for useful differences within the set
Compare similar photographs side by side. If two images do the same job, decide whether both earn a place in the final selection. A slightly different expression might matter for a portrait collection. For a broader company library, a different person, activity, or setting may add more practical value.
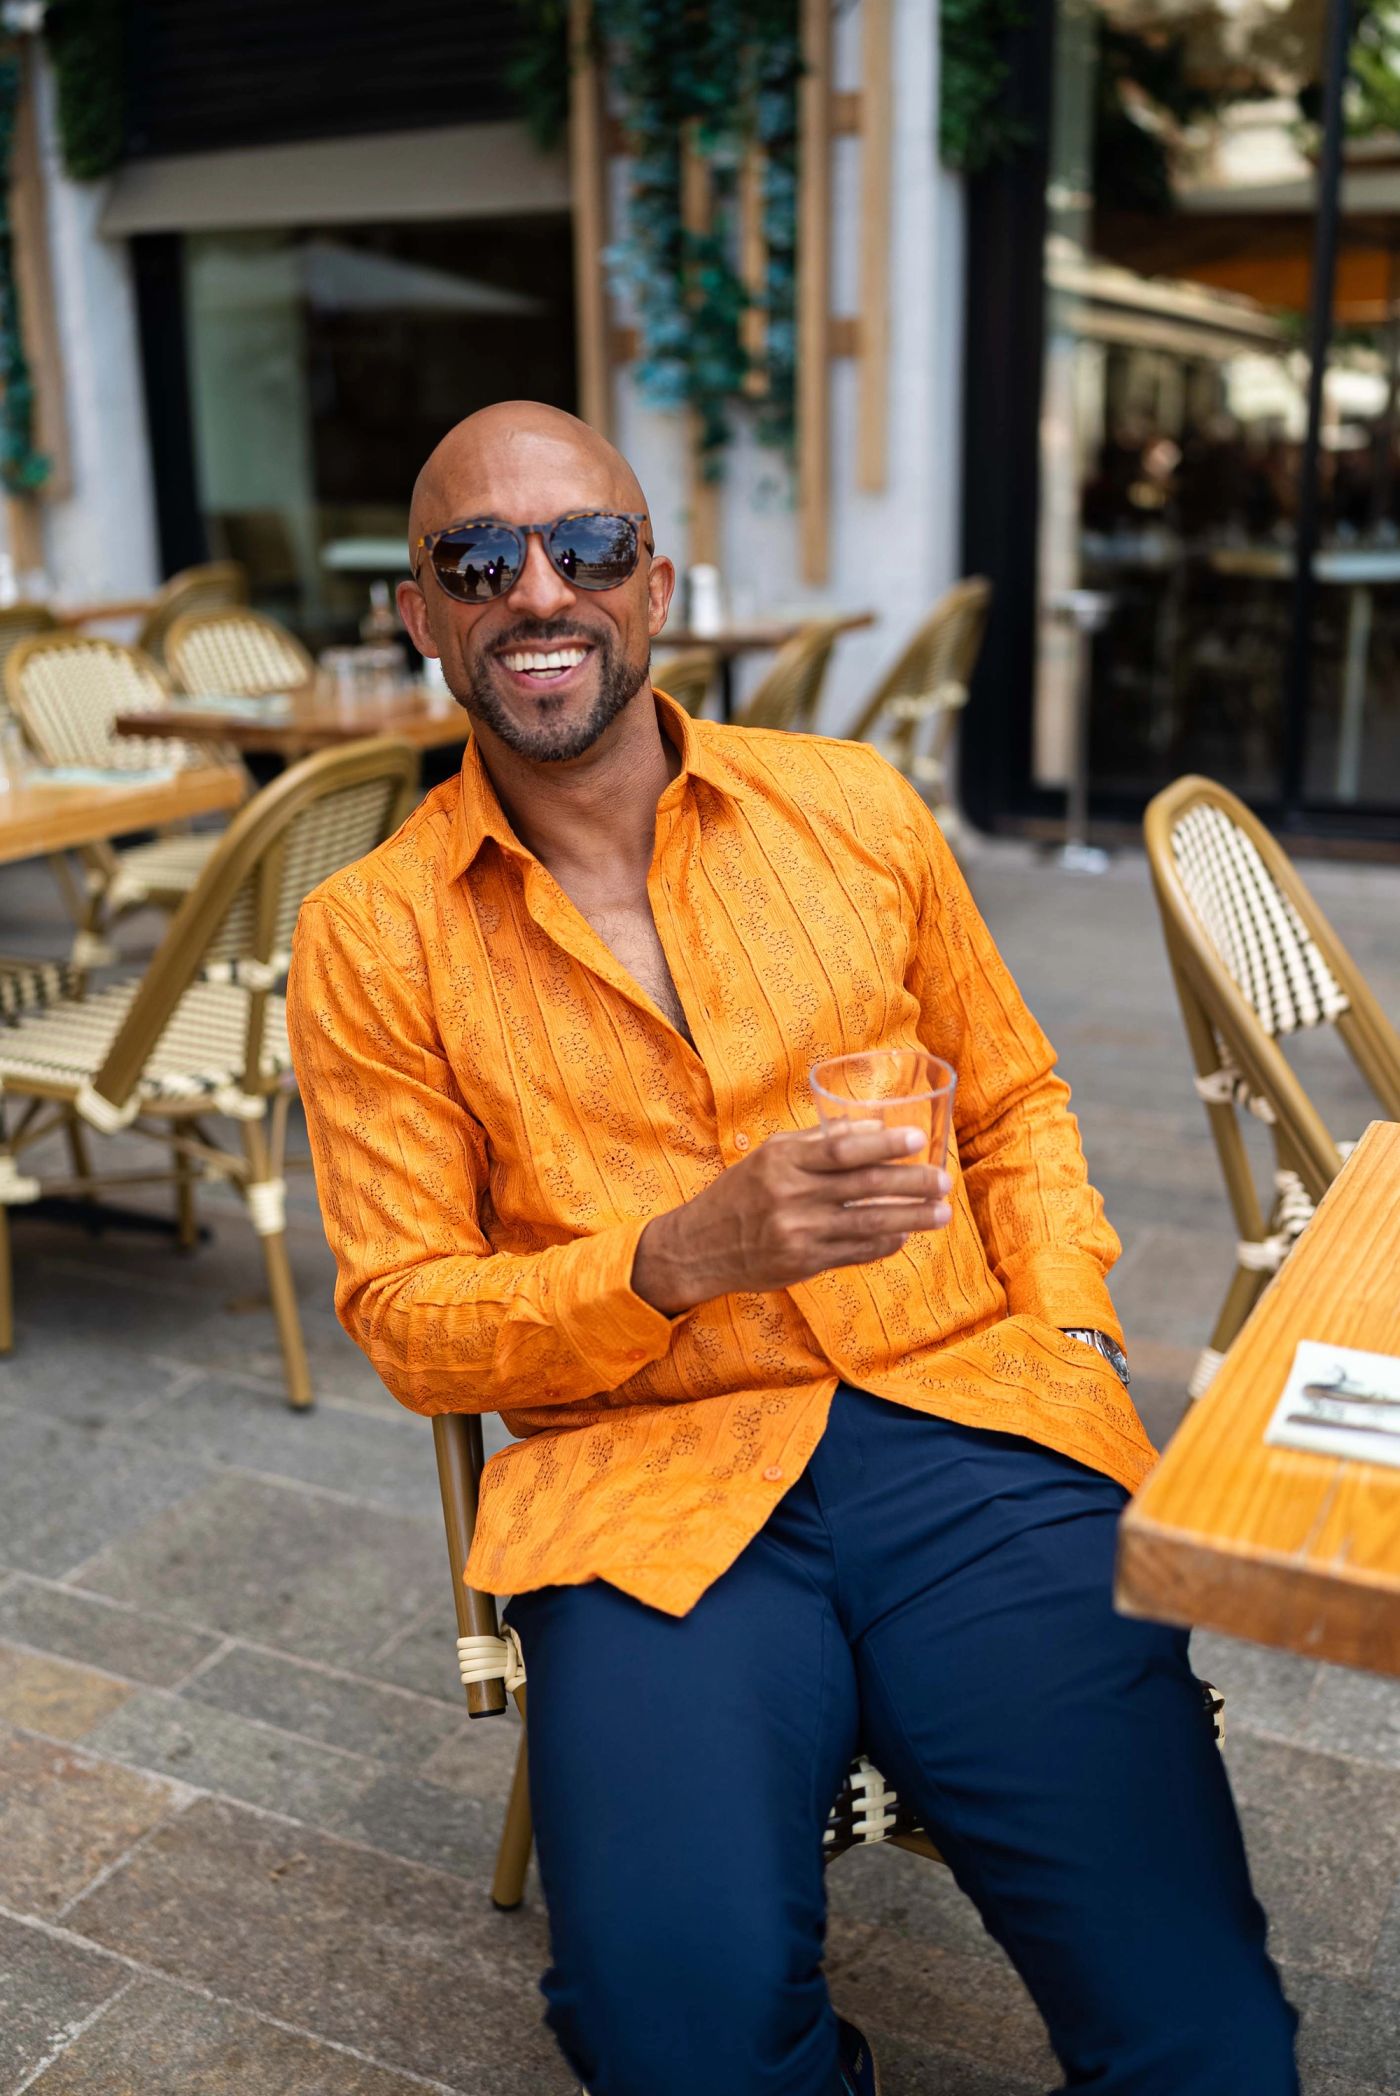
Repeak’s published David Bianchi collection combines outdoor locations, different wardrobe looks, closer portraits, and wider environmental photographs. Created for personal branding, press, and social use, the set shows several ways to present the same person through changes in expression, clothing, and composition.

Explore the David Bianchi portrait collection →
For your own library, consider what a relaxed portrait adds alongside a more formal introduction. You do not need to choose one personality for every placement. You do need to choose deliberately, so the collection supports the ways you actually communicate.
Test the crop before committing
Place shortlisted images into a rough version of the intended layout. Check a wide website section, a vertical post, or a small profile circle as relevant. Look at what disappears around the edges and whether the important detail remains understandable. You can use a simple placeholder layout; it does not need to be a finished design.
Avoid assuming that every vertical photograph will become a strong horizontal banner. If the crop removes something essential, choose another image or discuss a different layout. Ask the photographer about suitable exports and any finishing questions before making your final choice.
Check the meaning as well as the appearance. Does the photograph show the right product version, current team, or appropriate setting for the message? If a detail is unclear, resolve it before assigning the image to a public page.
Use this selection checklist
Here is a practical checklist for a hypothetical small service business choosing its final brand photographs. Adapt the categories to the scope you actually commissioned.
- Introduction: a clear portrait or team image suitable for the main place customers meet the business online.
- Context: an image showing the workplace, setting, or experience where that information helps the audience.
- Work: a useful demonstration of the people, tools, or process behind the service.
- Variety: a different composition or expression with a specific future use, rather than another near-duplicate.
- Layout: important details remain visible in the intended crop, with room for any planned text.
- Accuracy: people, products, and settings match the message you intend to publish.
- Handoff: original image numbers, agreed finishing notes, and one person responsible for submitting the final list.
Finish with one clear handoff
Gather input from the people who will use the images, then have one owner resolve competing preferences. Keep essential corrections separate from questions about the selection. If you are unsure between two photographs, explain their intended use and ask the photographer for a recommendation.
Once the finished files arrive, keep the original filenames and create a short usage list so your team can find the chosen images. Start with one planned placement and put the work into use. If you want help building a photography collection around those needs, bring Repeak your current pages and the gaps you want the next shoot to fill.