October 17, 2026
How to Plan One Shoot for Your Website, Email, and Social Content
Turn one shoot into a useful content library with a deliverables map, shared scenes, clear priorities, and a practical example brief.
Plan one shoot for several channels by deciding where the content will go before deciding what to film. List the audience, message, and finished asset for each use. Then group the scenes those assets need. You’ll have a more useful brief than “let’s get a lot of content,” and a clearer way to decide what deserves time on the day.
More swings at bat starts with having material you can actually use. A beautiful folder of footage won’t help much if every post needs another shoot or a complicated edit. The aim is a connected library: a few clear stories, supported by photographs and clips that work in the places your audience will see them.
Start with the job each piece needs to do
Your website might need to explain the business to someone visiting for the first time. An email might need to give an existing customer a reason to return. A social post might answer one question, introduce a person, or make someone smile. Those are different jobs, even when the same product or location appears in all three.
Write one sentence for each priority: “This piece helps [person] understand [idea] so they can [next step].” If you can’t complete the sentence, put that asset lower on the list. Start with the uses you already have a plan for. You can still capture extra moments once the essentials are covered.
Build a small deliverables map
Use a shared document with a line for each finished item. Include its purpose, where it will appear, its framing, and the scenes it needs. If someone else manages the website or email design, ask what space the image or video must fit. Confirm those details before production rather than discovering them during delivery.
For example, a wide website image may need open space beside the subject for a headline. A close vertical clip may need the product and the person using it kept together in the frame. One composition won’t always serve both. Separate takes can be more useful than hoping every frame will survive every crop.
A real example: product content with several destinations
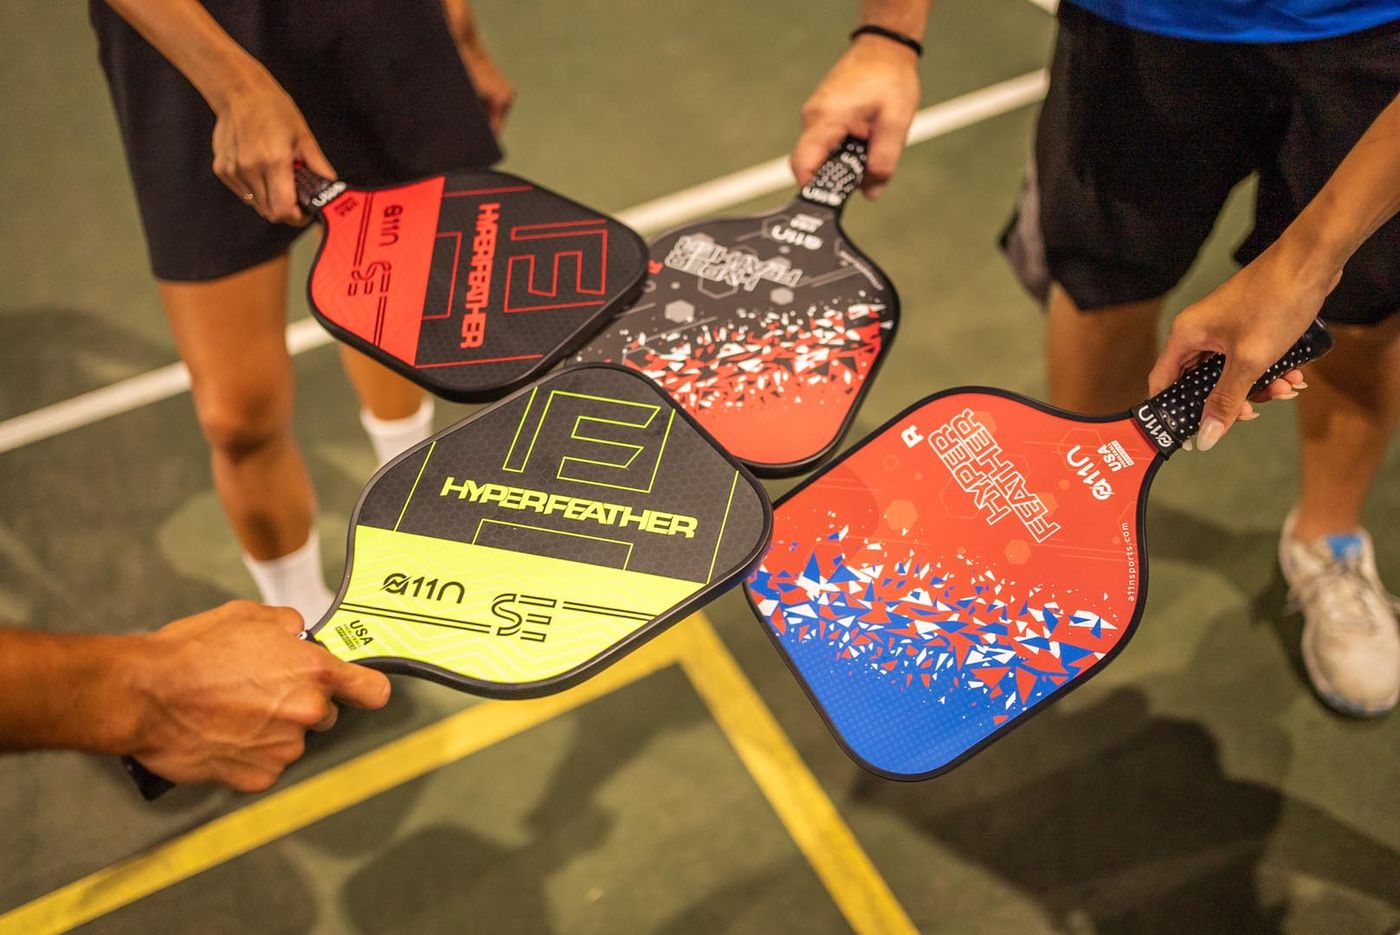
For A11N’s pickleball project, Repeak created content around the equipment in use and the products themselves. The published project includes a widescreen video for Amazon, e-commerce photographs, and short vertical videos for social media. The broader brief called for assets for the listing, social channels, email, and website.
That project shows why it helps to discuss destinations early. Product details and people playing offer different ways into the same brand. The planning approach below is a framework you can adapt to your own shoot; the published project is a reference for the finished range, without making claims about sales or campaign performance.
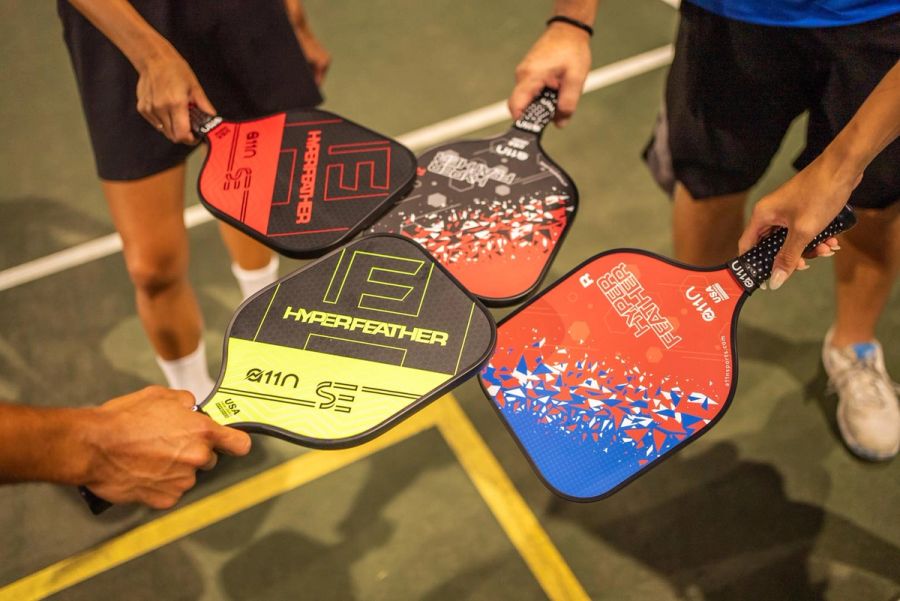
Explore the A11N pickleball photo and video project →
Group the work around scenes, not channels
Once you know the deliverables, look for shared scenes. A product demonstration might provide the explanation for a website video, a close-up photograph for an email, and a short answer for social. Put those needs together so the team knows what to capture while the people, location, and product are ready.
Keep room for the small moments, too: a useful comment from a team member, a customer interaction you have permission to share, or a detail that explains the process. These can give the audience more reasons to care. Don’t let the extra ideas crowd out the work the shoot was booked to deliver.
Try this example brief before requesting a quote
Here’s a hypothetical brief for a fitness studio introducing a beginner class. Treat it as a starting point, not a package or a promise about what fits into one day. A production partner should help you match the scope to the available time, people, and budget.
- Audience and question: people considering their first class who want to know what arriving and participating will feel like.
- Main message: show the experience, introduce the instructor, and explain what a newcomer should bring.
- Website: an introductory video and a wide photograph, with space for the page design. Next step: read the class details.
- Email: an instructor portrait and a class-detail image. Next step: choose a session. Confirm the image space with the email designer.
- Social: separate short answers to three beginner questions, plus a light moment that shows the instructor’s personality.
- Shared scenes: arrival, instructor introduction, demonstration, equipment preparation, and the end of class. Confirm who can appear.
- Delivery: list the agreed edits, photo selection, file formats, reviewer, and dates. Mark anything optional so priorities are clear.
Choose what to drop before the day gets crowded
Every additional location, participant, or concept needs room in the plan. Ask which assets depend on something that can’t easily be repeated. Capture those first when practical. If the schedule gets tight, protect the main story and the most useful supporting material instead of rushing through every optional idea.
You also don’t need to give every post the same production treatment. Use the shoot for work that benefits from preparation and craft. Keep a phone handy afterward for follow-up questions and new opinions. That combination gives you a considered foundation and a manageable way to keep sharing.
Give the library an owner
Before delivery, decide who will select, publish, and track the material. Name files around the subject and use, and keep the approved versions easy to find. Choose the first few placements now. A library becomes useful when someone knows what to do with it next.
Today’s action: list three pieces you actually need across your website, email, and social channels. Write the audience and purpose beside each, then identify the scenes they share. If you want help turning that list into a workable direction, explore Repeak’s content strategy service.